
เจ้า Linter นี้ใช้สำหรับดักจับเวลาเรา coding มันจะแสดง error และ warning ขึ้นมาทันที โดยเราไม่ต้องไปเสียเวลา compile หรือเปิดหน้าเว็บดูใหม่นั่นเอง มันช่วยให้ code ใช้เวลาสั้นลงและมีคุณภาพมากยิ่งขึ้น
มาว่ากันเรื่องการติดตั้ง package linter-php สำหรับ Windows ที่ลงพวก WAMP, XAMPP, AppServ เป็นต้น หรือใครจะติดตั้งแบบอื่นก็ไม่ว่ากัน
ติดตั้ง Package linter-php ด้วยการเข้าไปที่ Settings > Install > พิมพ์ lint php ดังภาพ
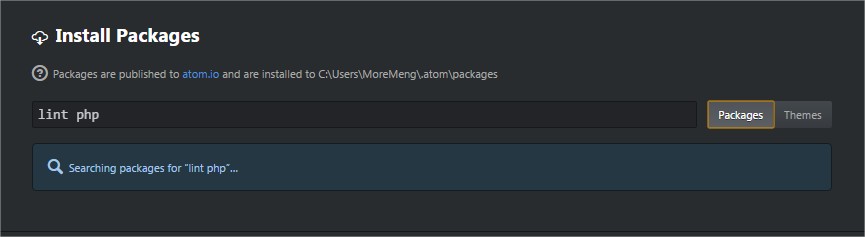
จะพบ linter-php ให้กด install แล้วรอ จนกว่าจะเสร็จ เราจะมีเริ่มขึ้นตอนการตั้งค่าเพื่อให้มันใช้งานกับ Windows ได้
ให้คลิกที่ Open Config Folder

จากนั้นเปิดไฟล์ config.cson ขึ้นมา

ซึ่งในตัวอย่างของ AtomLinter เขาจะแนะนำดังนี้ครับ (https://github.com/AtomLinter/linter-php)
Setup
Once the package is installed you may need to specify the path to the php executable if Atom is not able to find it automatically. You can do this from Atom’s settings menu or by editing your ~/.atom/config.cson file (choose Open Your Config in Atom’s menu). If editing the file by hand you should modify/create a section like the following:
'linter-php':
  # php path. run 'which php' to find the path
  'executablePath': /usr/bin/php
ซึ่งมันใช้กับ Windows ไม่ได้ซะทีเดียว เราต้องเอามาเปลี่ยน executablePath ใหม่ เป็นแบบนี้ครับ ถ้าใครเป็นอย่างอื่นก็เปลี่ยน path เป็นแบบที่ใช้งาน เช่น C:\xampp\bin\php\php.exe ซึ่ง php.exe นี่สำคัญมากนะครับ ระบุให้ชัดเจนด้วย
  "linter-php":
    executablePath: "F:\wamp\bin\php\php5.5.12\php.exe"
จากนั้น save และลองทดสอบดูถ้าหากใช้งานได้ มันจะมีมี popup error ด้านขวาบนขึ้นมา จะมี Success สีเขียวๆ และหากเราเขียน code ผิดพลาดมันจะแจ้งดังภาพด้านล่างครับ

Update!
version 1.1.7 มีช่องให้ใส่ PHP Executable Path ให้เรียบร้อยแล้ว
